VivoY53tConnecting Computer Tutorial
Mobile phones and computers are now essential tools for people's life and work. Although mobile phones are more flexible and convenient to carry, and can allow you to work anytime and anywhere, the overall capacity must be less than that of computers, so many users will connect mobile phones to computers to complete data transfer. Let's see how this vivoY53t connects to computers.
vivoY53tConnecting Computer Tutorial
1. First open your Vivo phone and find "Settings" on the desktop. Settings mainly manage most function adjustment or parameter search in the mobile phone. After clicking "Settings", you can see phone, account and synchronization, input method, Bluetooth mode and other contents in this interface, but the function we are looking for is in "More Settings".
2. Click to enter "More Settings". In this interface, you can see a variety of settings, including date and time, language environment, storage and applications.
3. Click to enter "Application", where you can set the priority installation location when installing applications, view the installed software, and view the running applications.
4. Click to enter "Development". At this time, a dialog box "Allow USB debugging?" will pop up, and click "OK".
5. After completing the above settings, connect the phone and computer with the data cable, and you will see a new dialog box - USB settings. Here you can select the connection mode of the data cable, including charging only, USB flash disk function, media device, etc. Click and tick the "U disk function".
How about the way VivoY53t connects to the computer? I believe that after learning this skill, you can be more efficient when working. In addition, it is also very convenient to transfer data such as videos and game apps.
Related Wiki
-

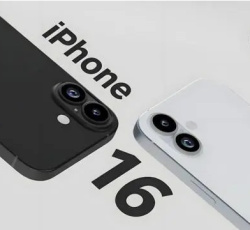
What sensor is the main camera of iPhone 16?
2024-08-13
-
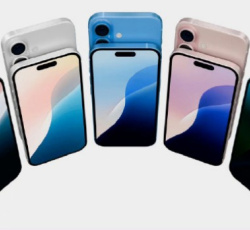
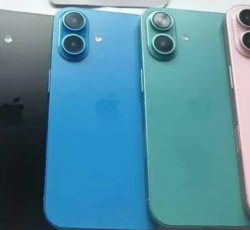
What upgrades does iPhone 16 have?
2024-08-13
-
Does iPhone 16 have a mute switch?
2024-08-13
-
How about the battery life of iPhone 16?
2024-08-13
-
What is the peak brightness of the iPhone 16 screen?
2024-08-13
-
Does Huawei MatePad Pro 12.2-inch soft light version support satellite communication?
2024-08-12
-
What is the screen resolution of Huawei MatePad Pro 12.2-inch soft light version?
2024-08-12
-
How to close background programs on iPhone 16pro?
2024-08-12


Hot Wiki
-
What is the screen resolution of one plus 9RT
2024-06-24
-
How to activate RedmiNote13
2024-06-24
-
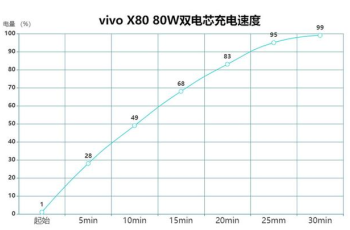
vivo X80 dual core 80W flash charging time introduction
2024-06-24
-
How to restart oppo phone
2024-06-24
-
Redmi K50NFC Analog Access Card Tutorial
2024-06-24
-
How to split the screen into two apps on Xiaomi 14pro
2024-06-24
-
Is iQOO 8 All Netcom
2024-06-24
-
How to check the battery life of OPPO Find X7
2024-06-24
-
Introduction to iPhone 14 Series NFC Functions
2024-06-24
-
How to set fingerprint style on vivo Y100
2024-06-24